A Cream Tea Road Trip: 8 Bakeries and Tea Rooms Worth the Detour in Cornwall
October 13, 2026 - Bakeries


October 11, 2026 - Reviews
October 10, 2026 - Recipes

October 08, 2026 - Recipes
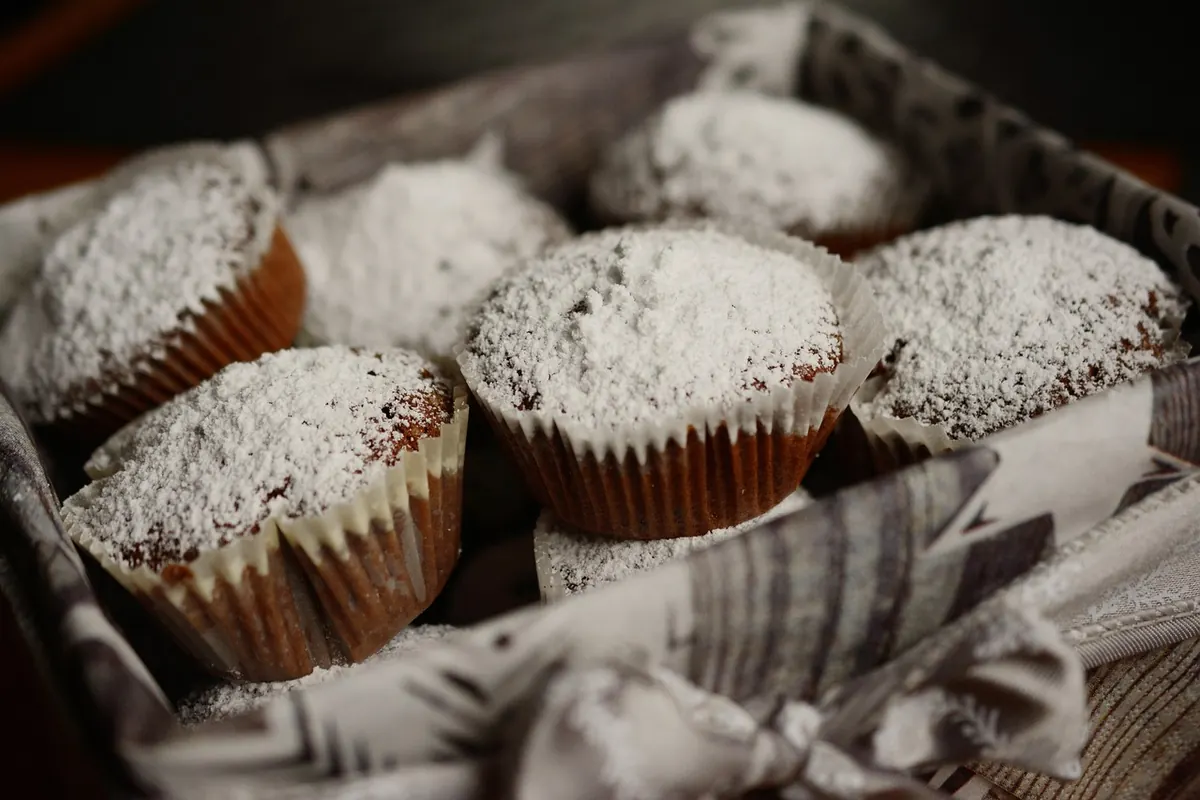
Nothing in British baking is as simple, or as unforgiving, as a plain scone. Five ingredients, ten minutes in the oven, and a result that can be feather-light or heavy enough to prop a door open — the difference usually comes down to small things: how cold your butter was, how much you handled the dough, how you cut it. This guide takes one reliable recipe from fridge to cooling rack, with the timings and visual cues that tell you you're on track.
A classic British scone is not a cake, not a rock cake, and not an American biscuit. It's a lightly sweetened quick bread, about 5cm across and 3cm tall, with a flat top and a telltale horizontal crack around its middle where it has split as it rose. Inside, it should be close-textured and tender — not flaky like a croissant, not spongy like a cupcake.
Plain is the default here: no raisins, no cheese, no glaze beyond a brush of milk or egg. That's deliberate. A plain scone is a vehicle for jam and clotted cream, and it is also the honest test of your technique, because there is nothing to hide behind.
On the equipment side, you need a large mixing bowl, a round 5–6cm cutter, a baking tray lined with parchment, a pastry brush, a wire rack and a clean tea towel. A sharp metal cutter gives the cleanest edge, but an upturned glass works if that's what you have.
If you want to sour the milk — it makes a slightly more tender crumb — stir the lemon juice into the milk and leave it for five to ten minutes before you start. Plain milk is perfectly fine too.
Tip the flour, baking powder and salt into the bowl and whisk them together with your hand. Add the cold butter cubes and start rubbing them in with your fingertips, lifting the mixture and letting it fall back into the bowl. Work quickly and lightly. Warm hands and slow rubbing melt the butter into the flour, and melted butter means a dense scone.
The target texture is fine breadcrumbs with a few pea-sized lumps left in. When it looks right, stir through the sugar with a spoon rather than your fingers.
If at any point the mixture feels greasy or warm, stop and put the bowl in the fridge for ten minutes. Ten minutes now saves a whole batch of tough scones.
An alternative for warm-handed bakers: freeze the butter, grate it coarsely on a box grater, and toss the strands through the flour with a knife. It takes half the time and keeps the fat cold.
The whole mixing stage should take about three minutes. The more you work the dough, the more gluten you develop, and gluten is what turns a scone into a hockey puck.
Press the cutter straight down and lift it straight out. Do not twist. Twisting seals the sides of the scone and it will rise sideways instead of up, which is the most common reason a first batch comes out flat. If the cutter sticks, dip it in flour rather than wiggling it.
Gather the trimmings, press them together once, and cut again. One re-roll is fine; a second tends to produce noticeably tougher scones. Leftover scraps can be baked as an odd-shaped cook's treat.
Preheat the oven to 220°C (200°C fan, gas 7) and let it come fully up to temperature — at least fifteen minutes — before the tray goes in. Bake on the middle shelf for 10 to 12 minutes. Resist opening the door before the eight-minute mark; the initial burst of steam is doing useful work.
What you're looking for:
If they're still pale at twelve minutes, give them two more. If they're browning fast, move the tray down a shelf and lay a piece of foil loosely over the top.
Leave the scones on the tray for five minutes — they're fragile straight from the oven — then move them to a wire rack. If you like a soft crust, drape a clean tea towel over them while they cool. They're at their best within a couple of hours, still faintly warm.
When it comes to eating, split rather than slice: run a knife or the tines of a fork horizontally around the middle and ease the two halves apart. Whether the jam or the cream goes on first is a Cornish-versus-Devon argument you can settle yourself. Both work.
For storage, keep them in an airtight container at room temperature and use within a day; they stale quickly in the fridge. Baked scones freeze well for up to a month — reheat from frozen at 160°C for about five minutes. Avoid the microwave, which turns a good scone rubbery in seconds.
Bake them once, note how the dough felt in your hands and how the split looked through the oven door, and the second batch will be better than the first. That's the whole trick with scones.
Photo: congerdesign / Pixabay

Eight Cornish bakeries and tea rooms worth building a road trip around, with what to order, when to arrive, and how...
We baked six widely available scone mixes side by side, scoring rise, texture, flavour and value — and noting which...
October 11, 2026 - Reviews
October 10, 2026 - Recipes
Copyright © 2026 Scone Bulletin. All Right Reserved.