A Cream Tea Road Trip: 8 Bakeries and Tea Rooms Worth the Detour in Cornwall
October 13, 2026 - Bakeries


October 11, 2026 - Reviews

October 10, 2026 - Recipes

October 08, 2026 - Recipes
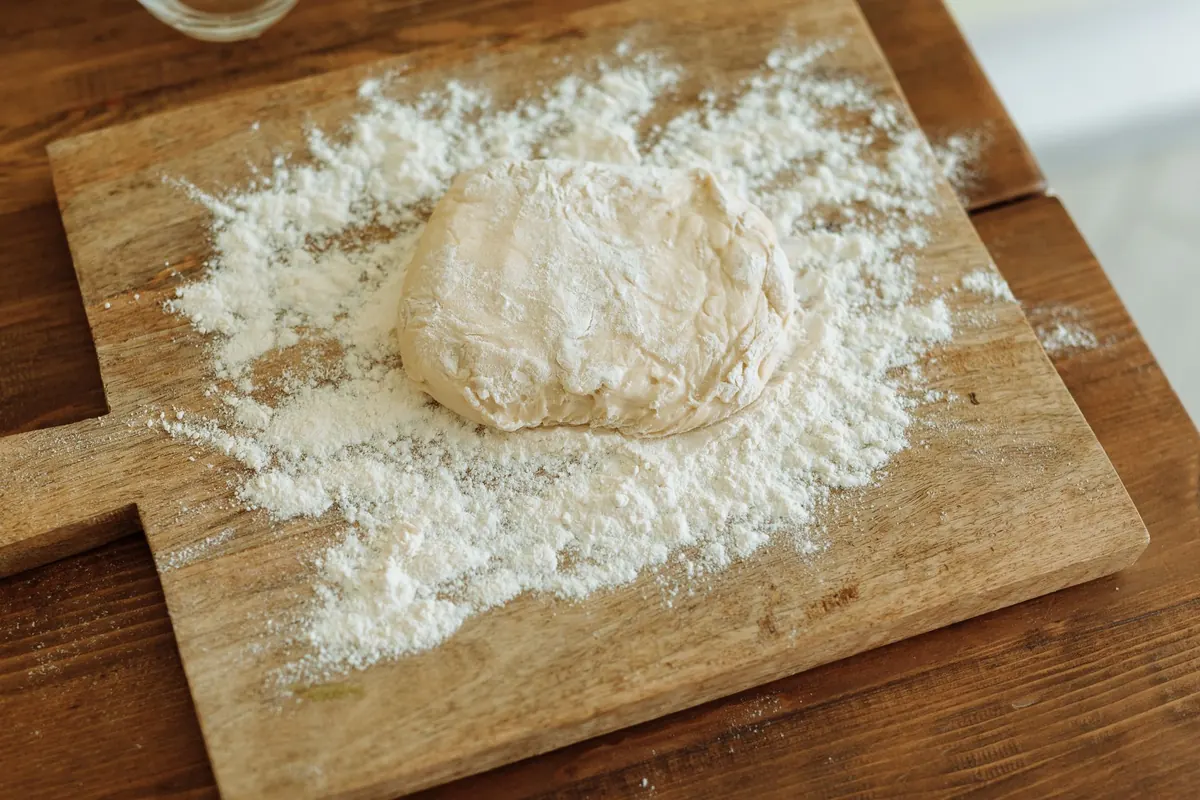
Scones rarely fail in the oven. They fail at the counter, ten minutes earlier, when the butter softened while you answered a text, when the dough got kneaded instead of patted, or when the cutter got twisted on the way down. By the time the tray slides onto the rack, most of the outcome is already decided. What follows is a pre-oven checklist — ten checkpoints covering butter temperature, dough handling, cutting technique and oven setup. Run it in the last couple of minutes before baking and you'll catch the usual problems while they are still fixable.
1. Can you grate the butter? Cold butter is what creates the steam pockets that push a scone upward and leave it flaky rather than bready. Put the butter in the freezer for fifteen minutes, then grate it on the large holes of a box grater straight into the flour, tossing as you go so the shreds stay separate. If the butter smears when you press it with a knife, it is too warm and the scones will spread instead of climb. Slide the bowl back into the fridge for ten minutes and start again.
2. Is everything else cold too? Buttermilk, cream, milk and eggs should come straight from the fridge, and on a hot day it pays to chill the mixing bowl and the flour as well. While you're there, glance at your baking powder or soda. Leaveners lose strength over months once the tin is open, so if yours has been sitting in the cupboard since last winter, replace it before you blame your technique.
3. Are the butter pieces still visible? Rub the butter into the flour, or pulse it in a food processor, only until the largest pieces are roughly pea-sized. Flakes the size of a lentil are fine. Uniform sand means you have gone too far, and the layers you were counting on have been smeared into the flour.
4. Did you add the liquid in stages? Pour in most of it, toss with a fork, and stop when the dough is shaggy with a few dry patches left at the bottom of the bowl. A slightly dry dough can be brought together with a splash more cream. A wet dough cannot be rescued without adding flour, which is exactly how scones turn tough.
5. Have you touched it more than necessary? Turn the dough out, gather it with your hands or a bench scraper, and pat it into a round about an inch thick. Fold it over two or three times if you want distinct layers. That is the whole job. Kneading develops gluten, and gluten is what makes a scone chewy instead of tender. Signs you have gone past the mark:
6. Has the dough rested? Ten to fifteen minutes on the counter, or half an hour in the fridge, gives the flour time to hydrate and the gluten time to relax. Shape and bake immediately and you risk a tight, lopsided scone that never quite reaches its full height. The rest also makes the dough easier to cut cleanly.
7. Are you cutting straight down? Use a sharp cutter dipped in flour. Press down firmly, then lift straight up — don't twist. Twisting seals the cut edges together, and sealed edges give the dough nowhere to open. For wedges, cut with one clean chop of a knife or bench scraper rather than a sawing motion, for the same reason.
8. Is the dough an inch thick, and are the scones spaced? Anything thinner does not leave enough dough to climb. Leave an inch or two between scones on the tray; crowding traps steam and softens the sides that should be crisp. Gather the scraps, press them together gently, and cut again — once or twice at most, before the dough stiffens.
9. Has the oven been hot for twenty minutes? Most scone recipes call for 400°F to 425°F, and a dial that reads "ready" is not the same as an oven that is evenly hot. Preheat for a full twenty to thirty minutes with the rack in the upper-middle position. A baking stone or a heavy sheet pan left in the oven to heat gives the bottoms a head start. An inexpensive oven thermometer will tell you whether your dial is telling the truth.
10. Are the shaped scones cold going into the oven? Fifteen minutes in the fridge on the lined tray, while the oven finishes heating, firms the butter back up and helps the scones hold their shape. If you brush the tops, use cream, milk or egg wash and keep it on top. Drips down the sides glue the layers together and stop the rise. Sprinkle sugar now, if you are using it.
Before the tray goes in, run the list one final time.
Then close the door and leave them alone for the first ten minutes. Most scones take twelve to eighteen minutes at 400°F to 425°F, so rotate the tray halfway through if your oven runs uneven. When the tops are golden and the sides look set and slightly dry, they are done. If a batch still comes out flat, change one checkpoint at a time — the butter or the twisting is usually the culprit — and you will find the fix within a couple of tries.
Photo: Thirdman / Pexels

Eight Cornish bakeries and tea rooms worth building a road trip around, with what to order, when to arrive, and how...
We baked six widely available scone mixes side by side, scoring rise, texture, flavour and value — and noting which...
October 11, 2026 - Reviews
October 10, 2026 - Recipes
Copyright © 2026 Scone Bulletin. All Right Reserved.